Easy Salt Dough Ornaments
Learn how to make easy salt dough ornaments with our guide. Use cookie cutters or even make keepsake salt dough handprint ornaments with the kids. Fun for the whole family and perfect handmade decorations and gifts!

Post may contain affiliate links. As a member of the Amazon affiliate program, I may earn a small commision from qualifying purchases. To read my affiliate policy, click here.
One of the best parts of my kids getting older is that we can do fun projects around the holidays.
This is exactly what I imagined when I was picturing what being a mom would be like.
And making these salt dough ornaments is definitely one of my favorite projects to do with the kids.
They love sticking their hands in the dough to make salt dough handprint ornaments and my daughter loves cutting out the dough with cutters and glitterfying the ornaments.
What You Need to Make Salt Dough Ornaments
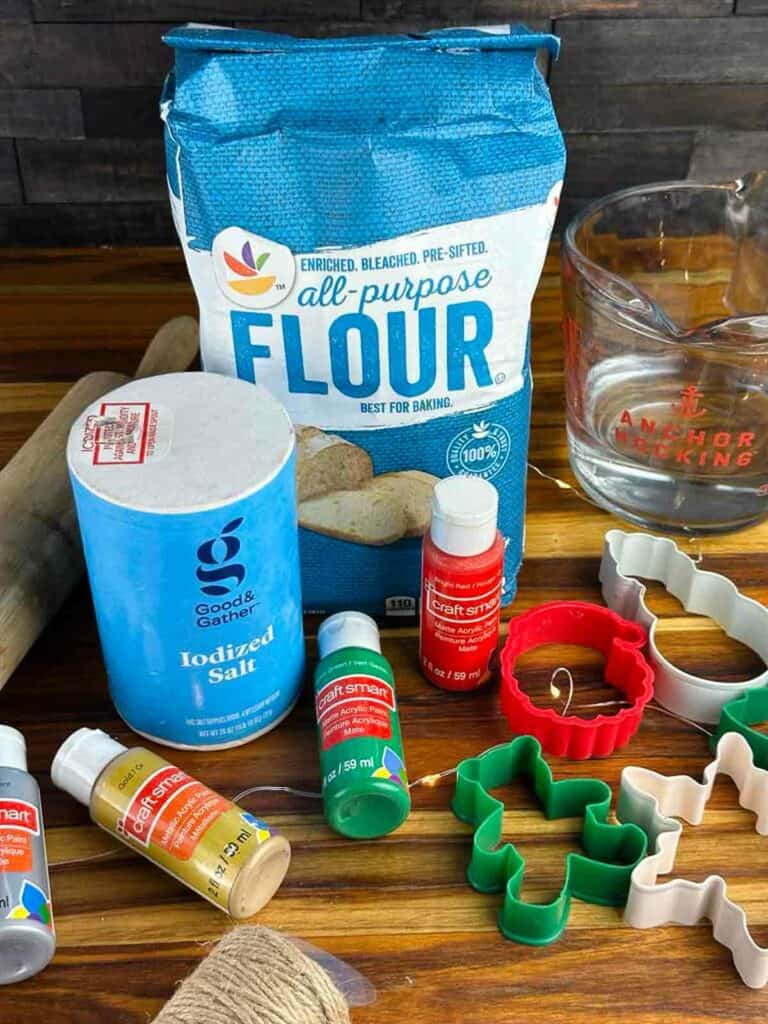
To get going with salt dough ornaments, you’ll need:
- All-Purpose Flour – Though it may work with other flours, simple all-purpose flour is your most economical choice here. If you do use another type of flour, you may need to adjust the amount of water you use to make the dough for the ornaments.
- Table Salt – Again, sea salt would likely work, but there is no need to make your salt dough ornaments gourmet unless you plan to eat them. (Don’t eat them, that is a terrible idea.)
- Warm Water – You can use the hot water right out of the tap.
You will also want the following kitchen supplies:
- Cookie Cutters – Sure, any will work, but if you want them festive, make sure you have a santa, Christmas tree, snowman, and similar cutters.
- Cookie Sheets
- Parchment Paper
- Rolling Pin
- Craft Paint
- Twine or Ribbon
- Craft Paint Brushes
How to Make Salt Dough Ornaments
This is what you need to know to easily make salt dough ornaments at home.
1. Make the dough.
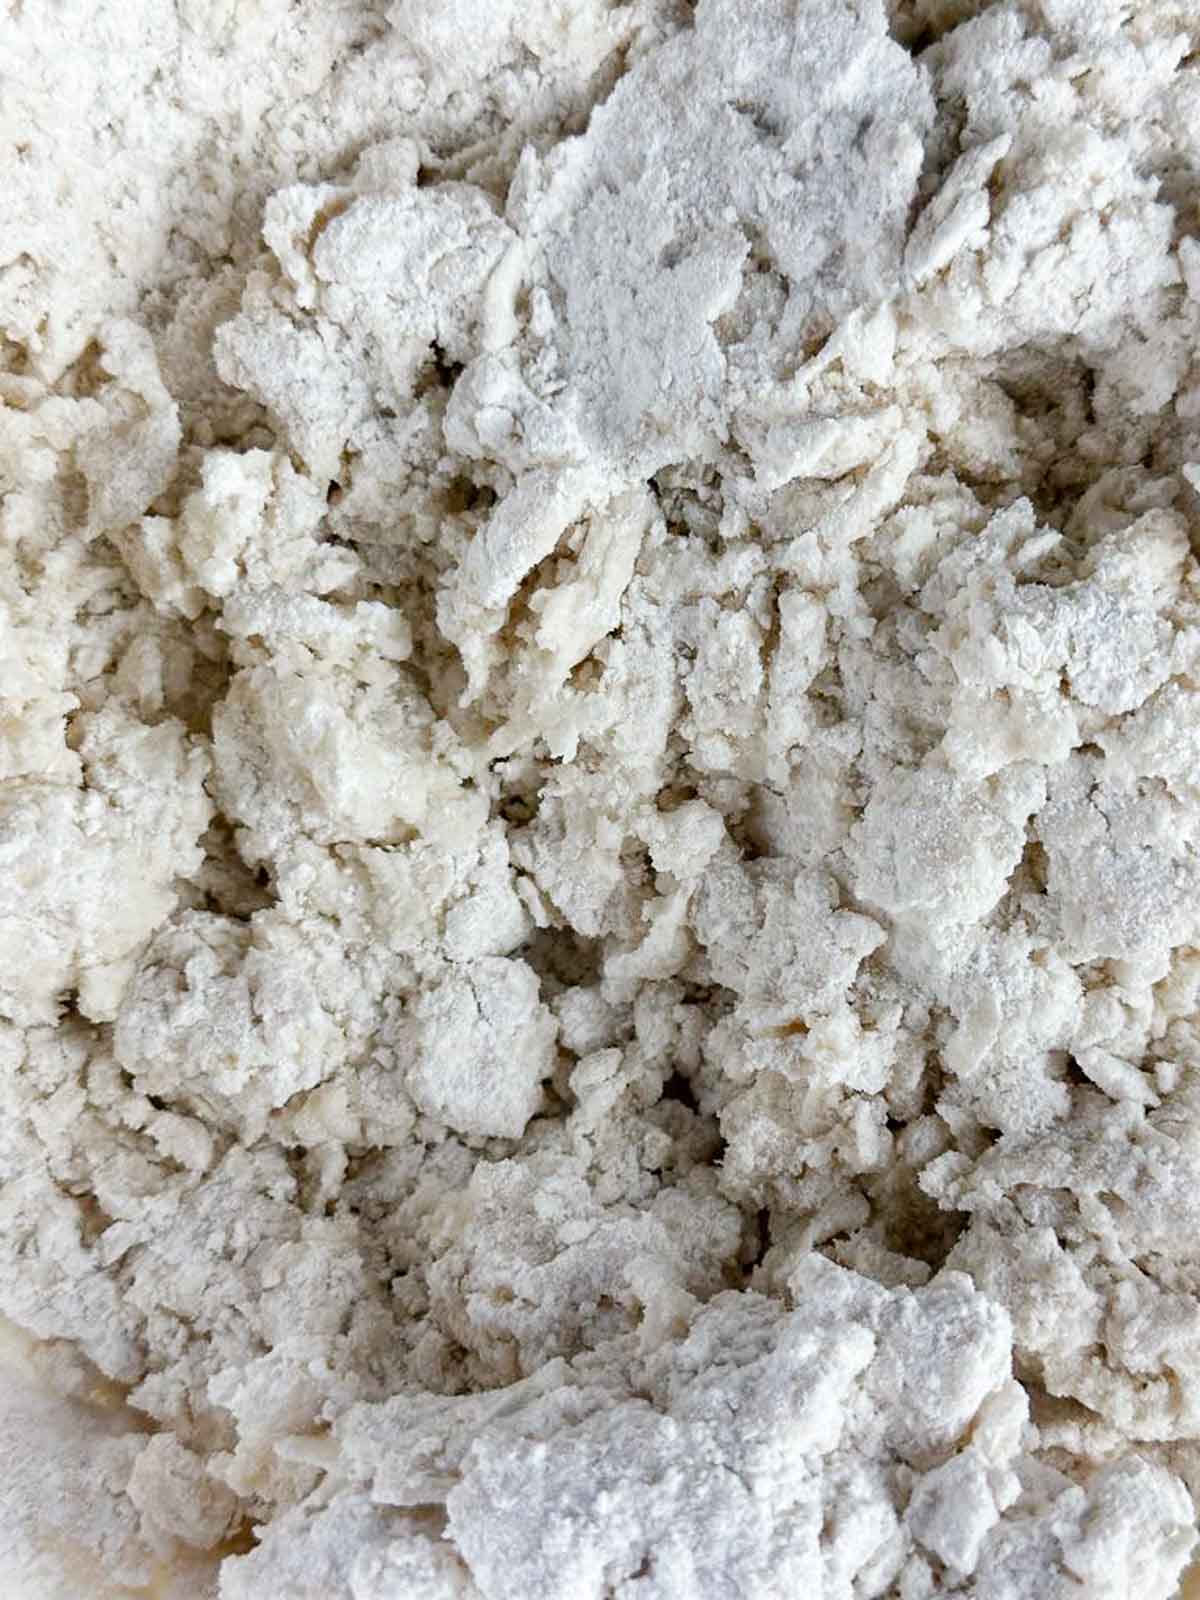
To make the salt dough, add the salt, flour, and water to a large mixing bowl.
Using a sturdy spoon or your hands, start mixing the ingredients together to form a dough.
As the dough comes together, it should start to feel like and have the consistency of Play Doh or similar dough, just with a slightly coarser feel from the salt.
If your dough is too crumbly, add a small amount of water and mix it in.
Keep adding and mixing until it reaches the right consistency.
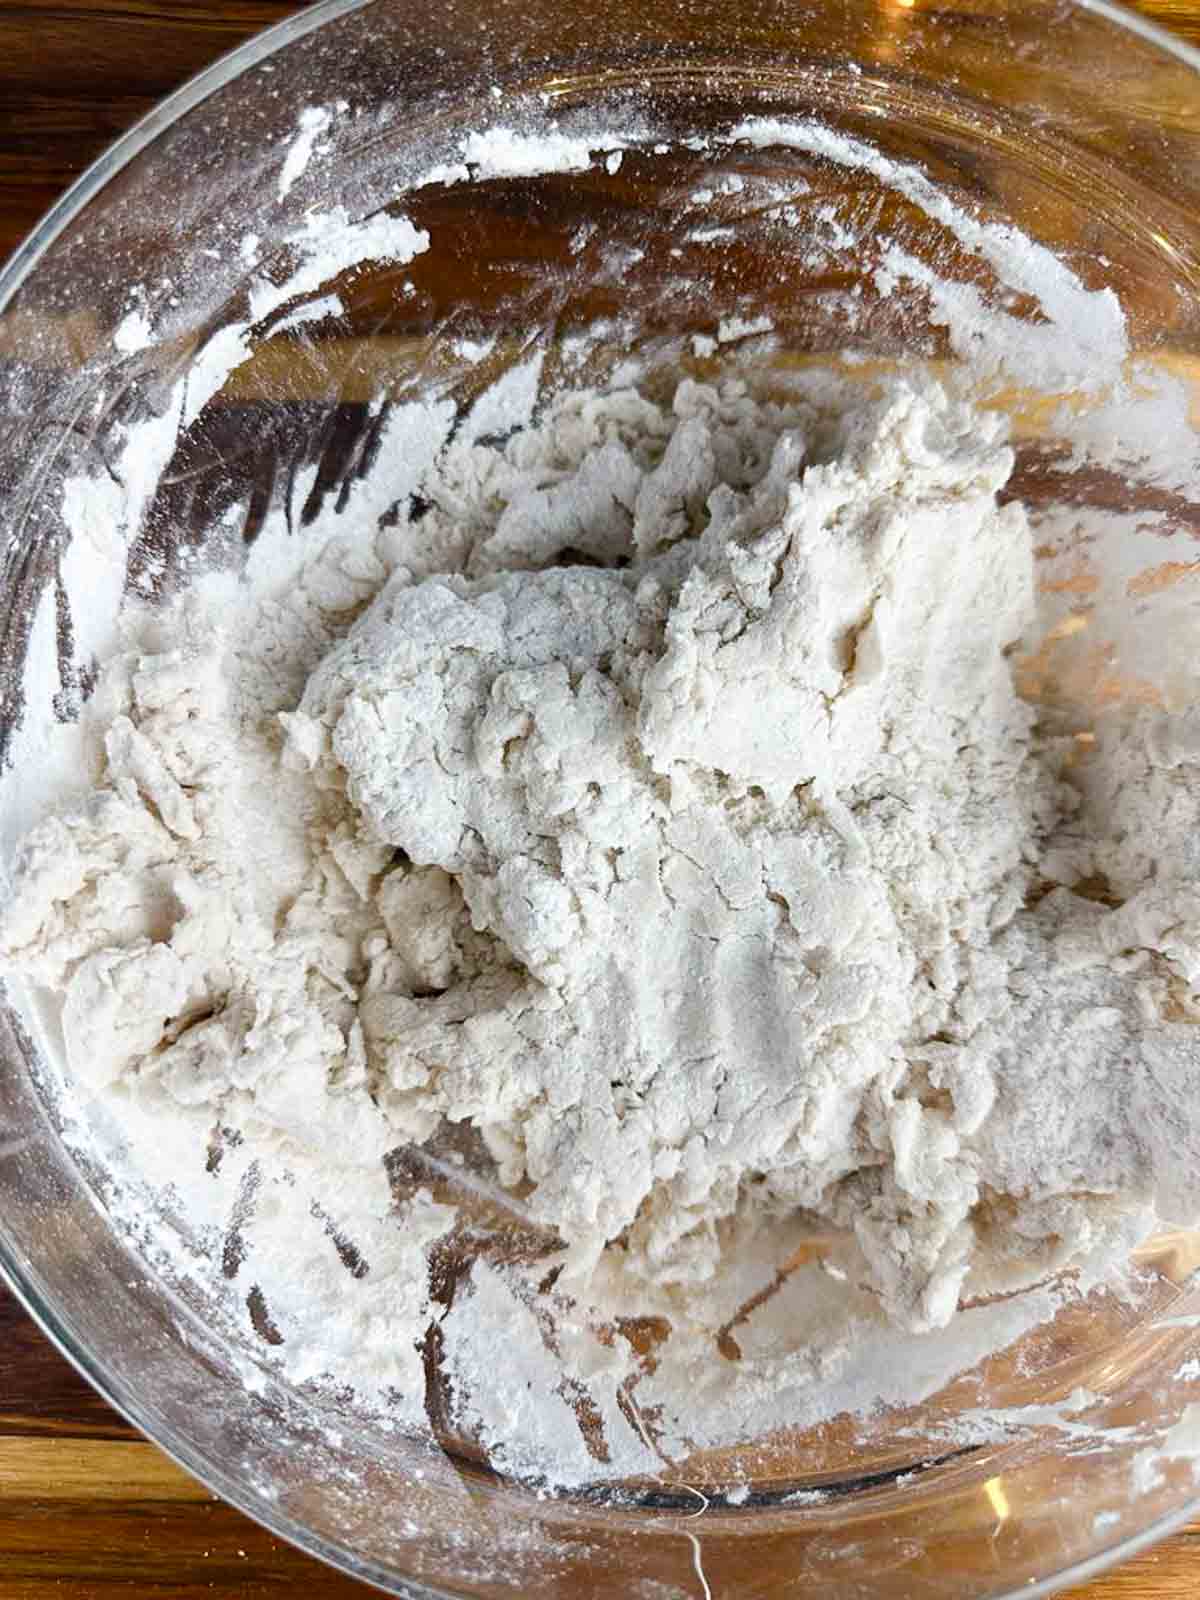
If your dough is too wet, add a small amount of flour and mix it in.
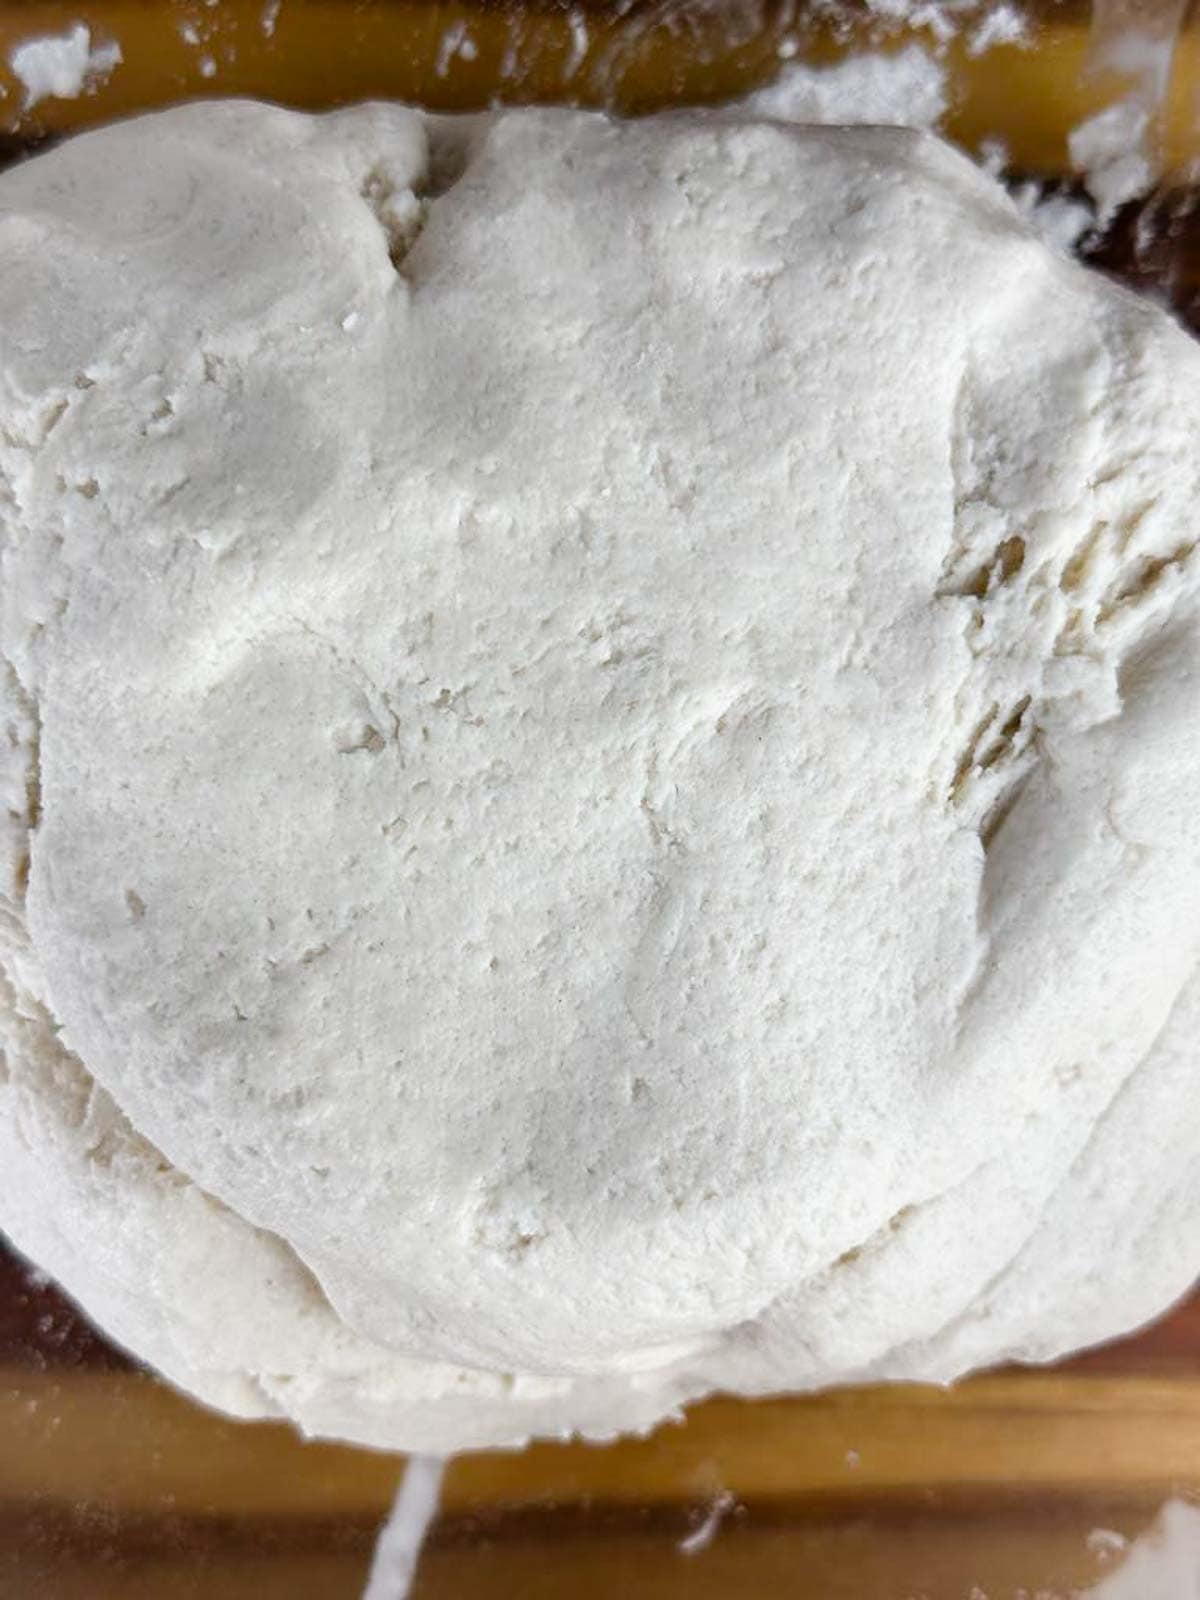
Keep adding and mixing the flour until the dough reaches the right consistency.
2. Roll out the dough.
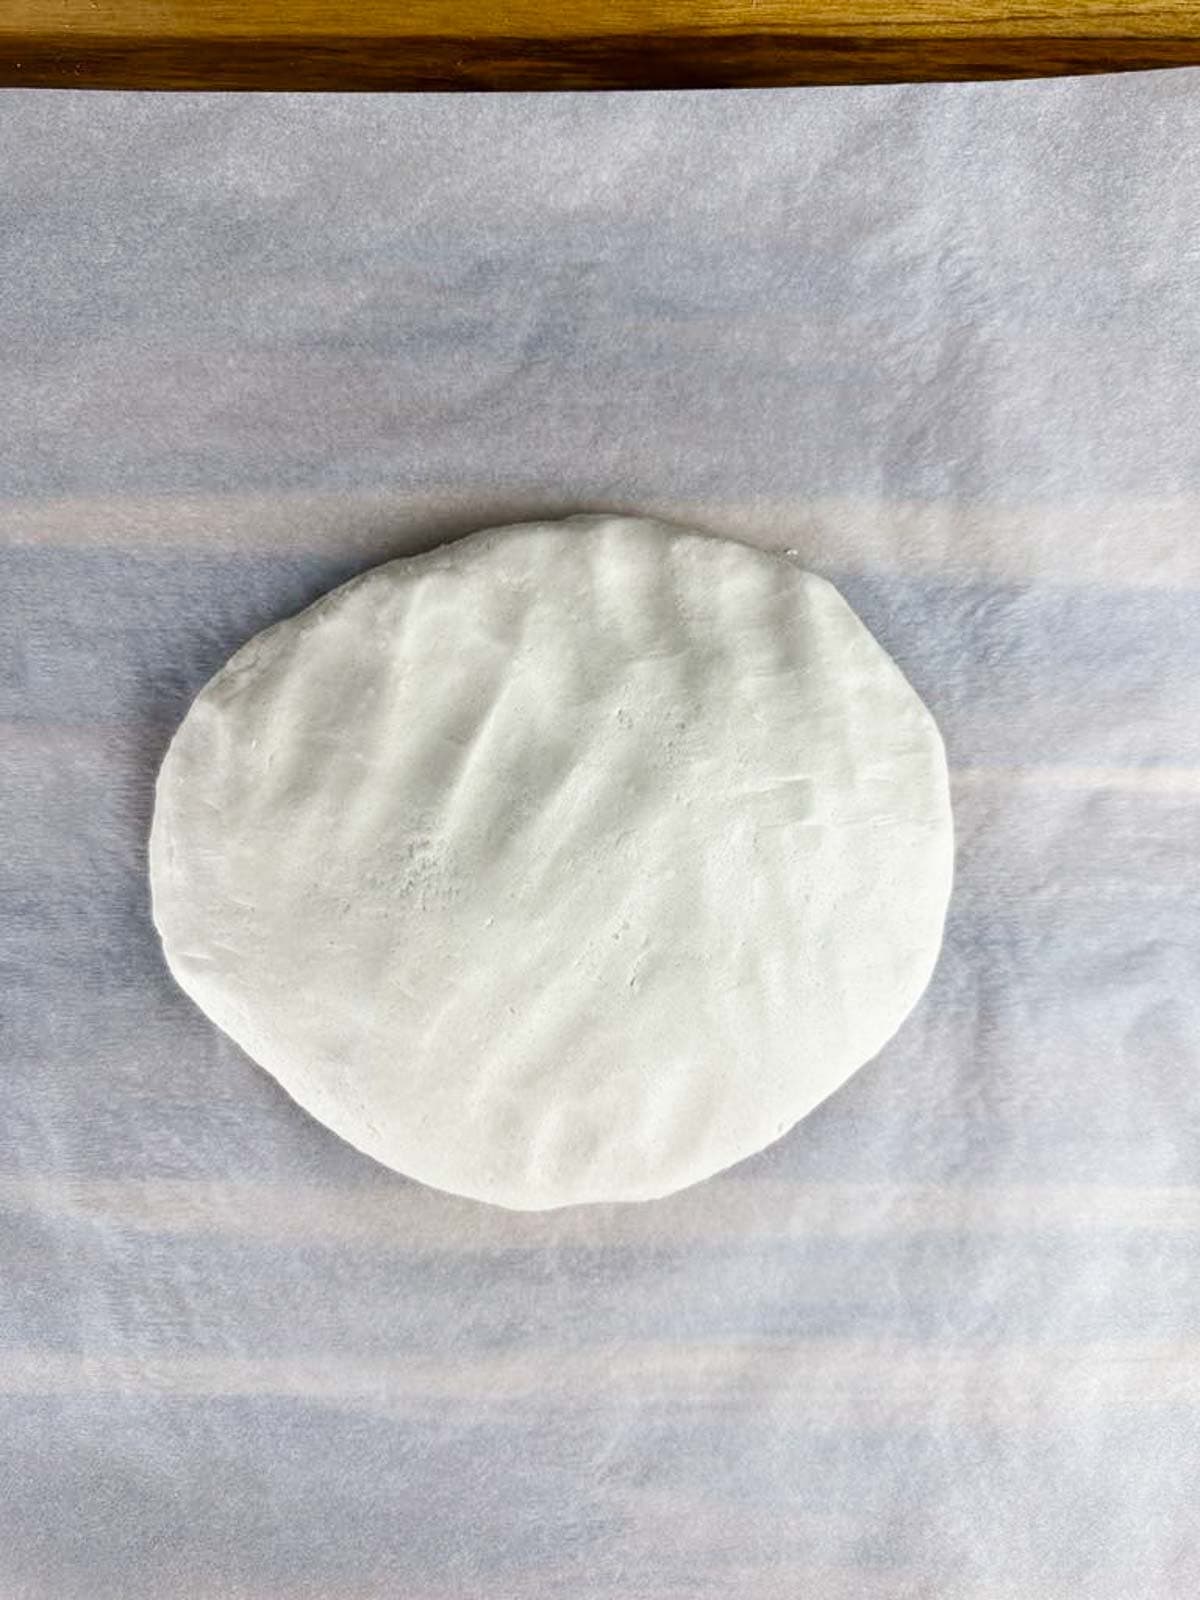
Before you roll out the dough, preheat your oven to 300°F.
Place a piece of parchment paper on your counter or table and put about half the dough on top.
Take another sheet of parchment paper and place over the dough.
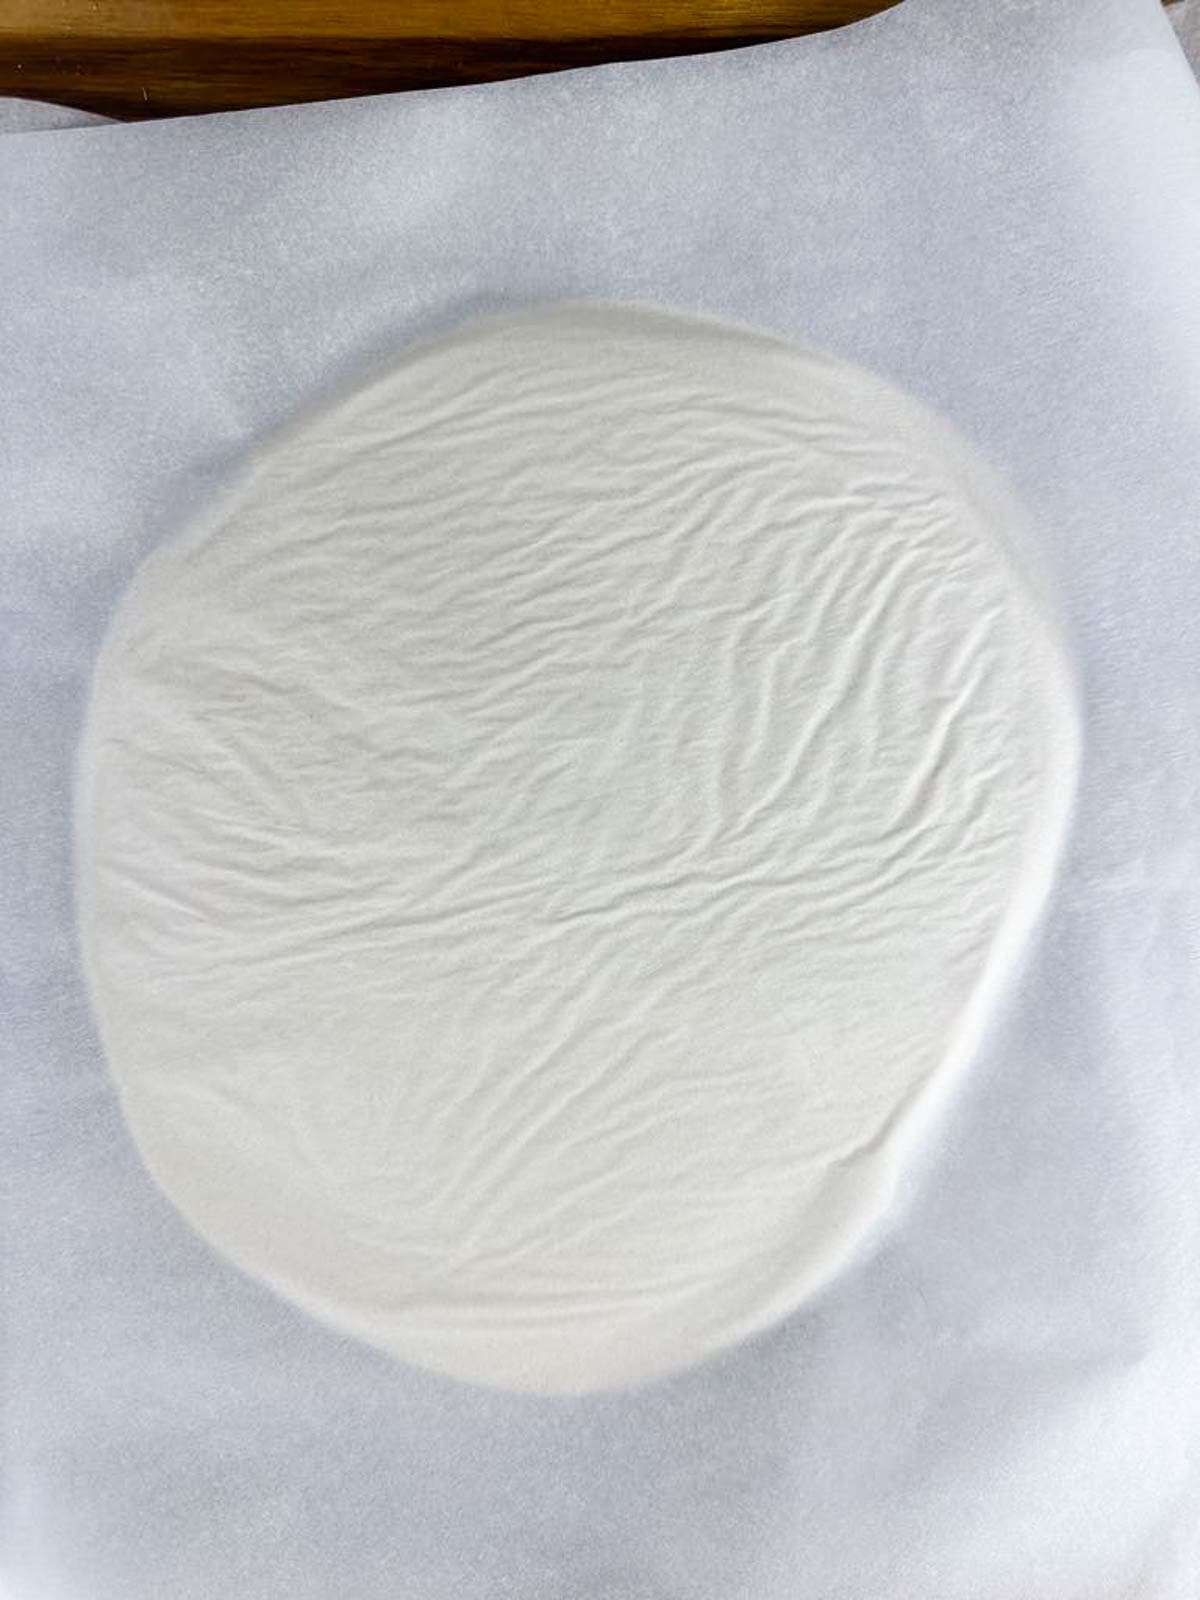
Using a rolling pin, push the dough down and start rolling it out.
You want to try to get a roughly 1/8 inch thick layer of dough.
When it’s at the right thickness, take off the top layer of parchment and run your rolling pin over it to smooth out any wrinkles from the paper.
3. Cut the ornaments.
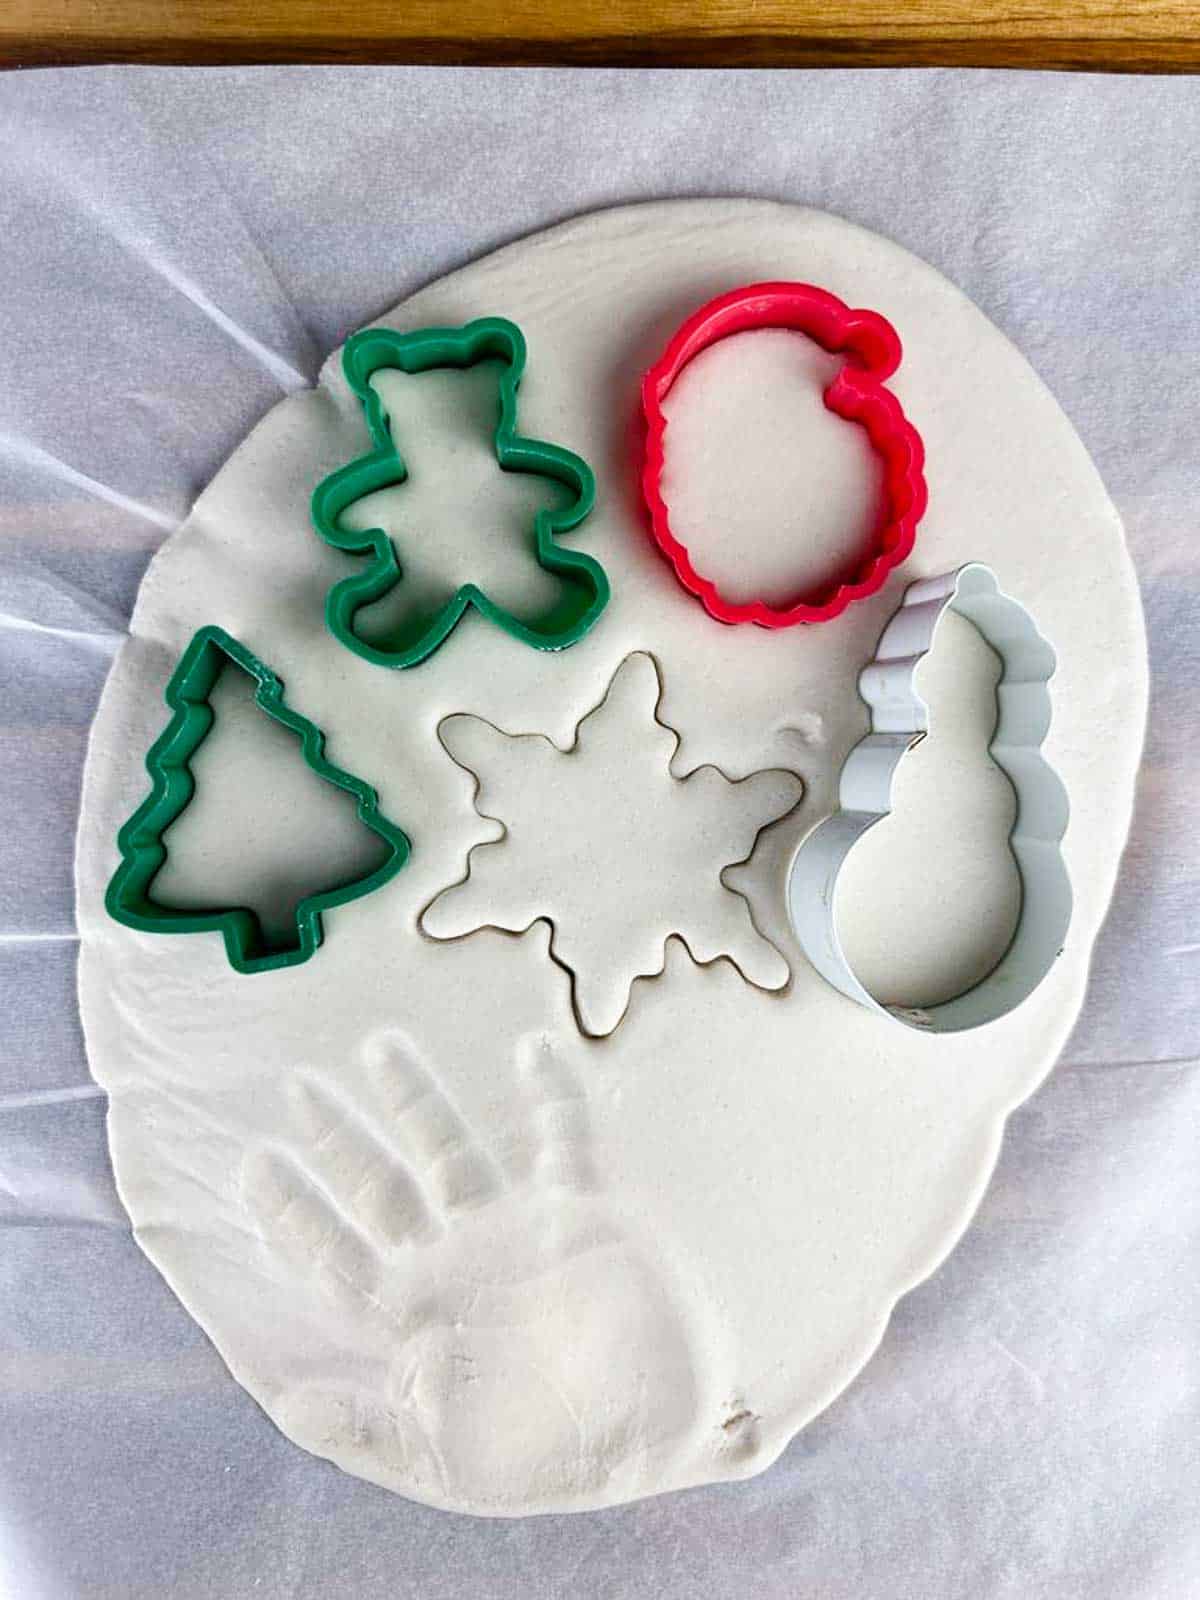
Take your fun, festive cookie cutters and start cutting out the dough.
Make sure to press down hard enough to make a clean cut.
Leave the cut out shapes on the parchment paper.
Once all your shapes are cut out, carefully peal away all the excess dough.
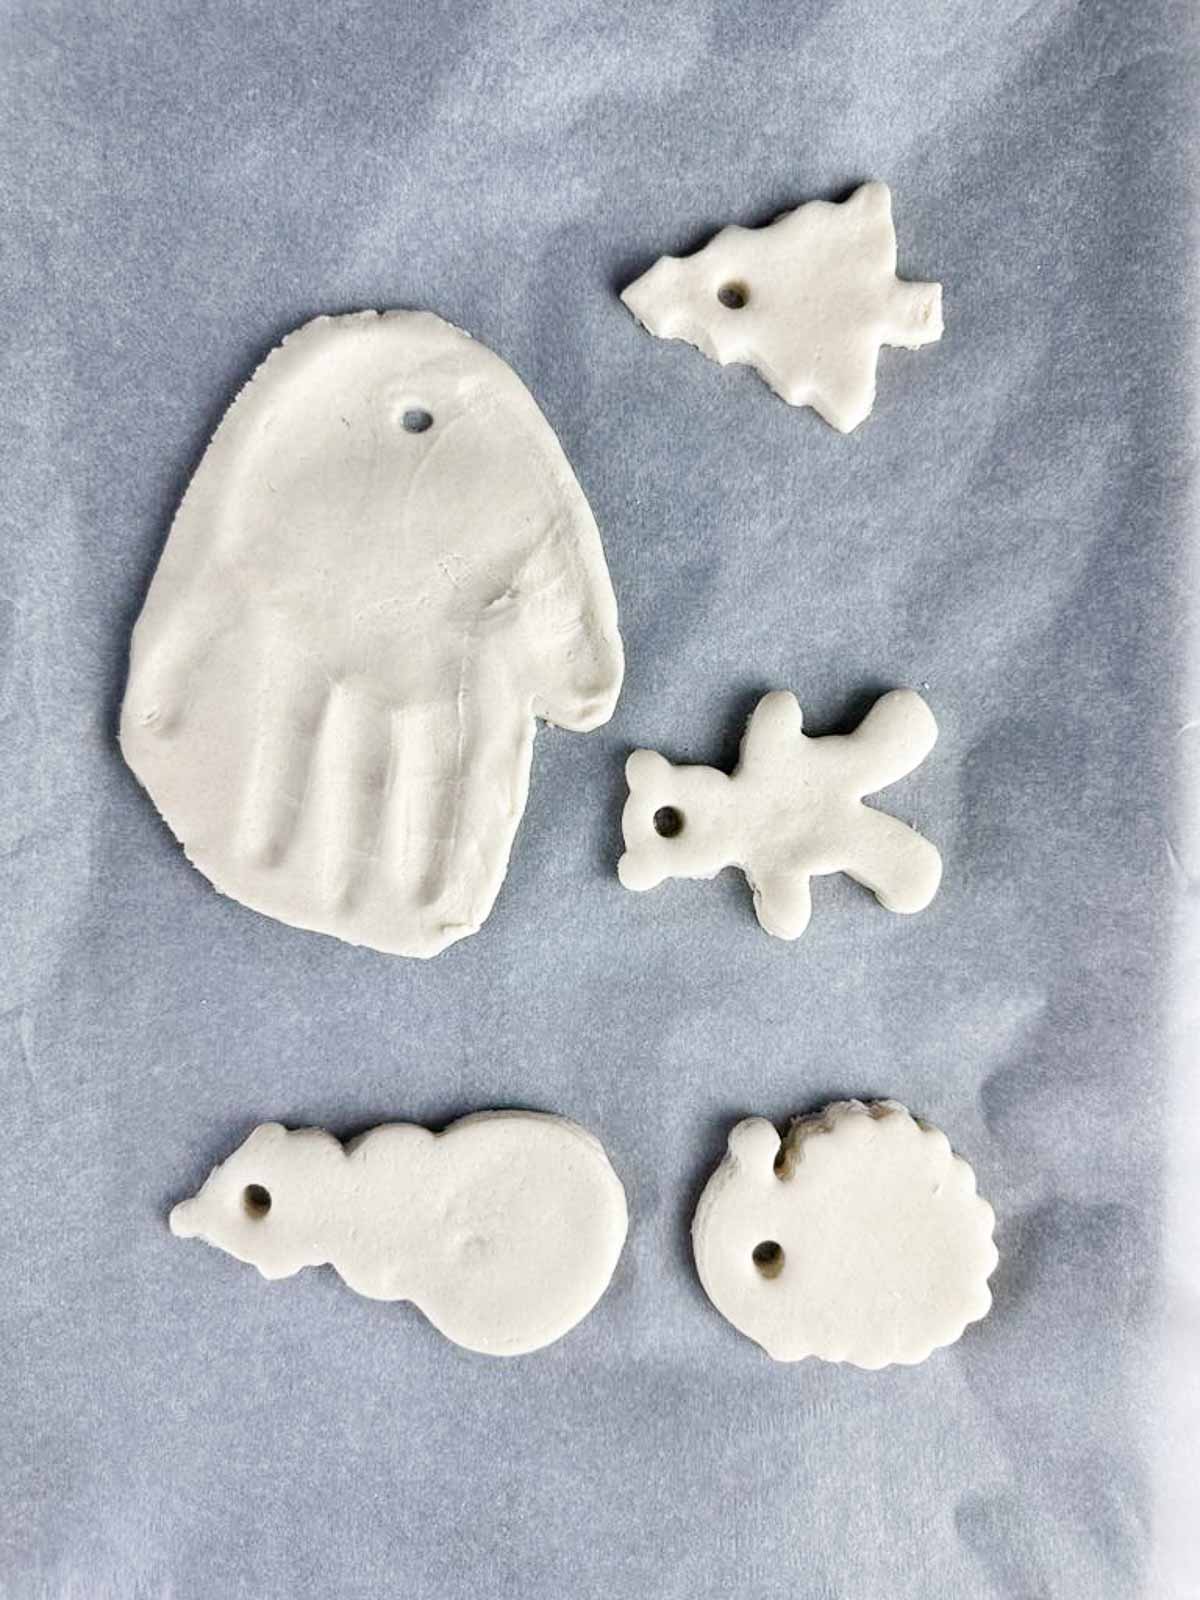
Carefully transfer the parchment with the ornaments to a cookie sheet.
Using a straw, toothpick, or other small round tool, punch a hole about 1/2 an inch down from what will be the top of the ornament.
Mush the scrap dough into the other half of the dough and then repeat the process of flattening the dough, cutting out the shapes, peeling the excess, and placing the parchment and all on a cookie sheet.
4. Bake and decorate the salt dough ornaments.
Place the cookie sheets into the oven and bake for about 1 hour or until the ornaments have hardened.
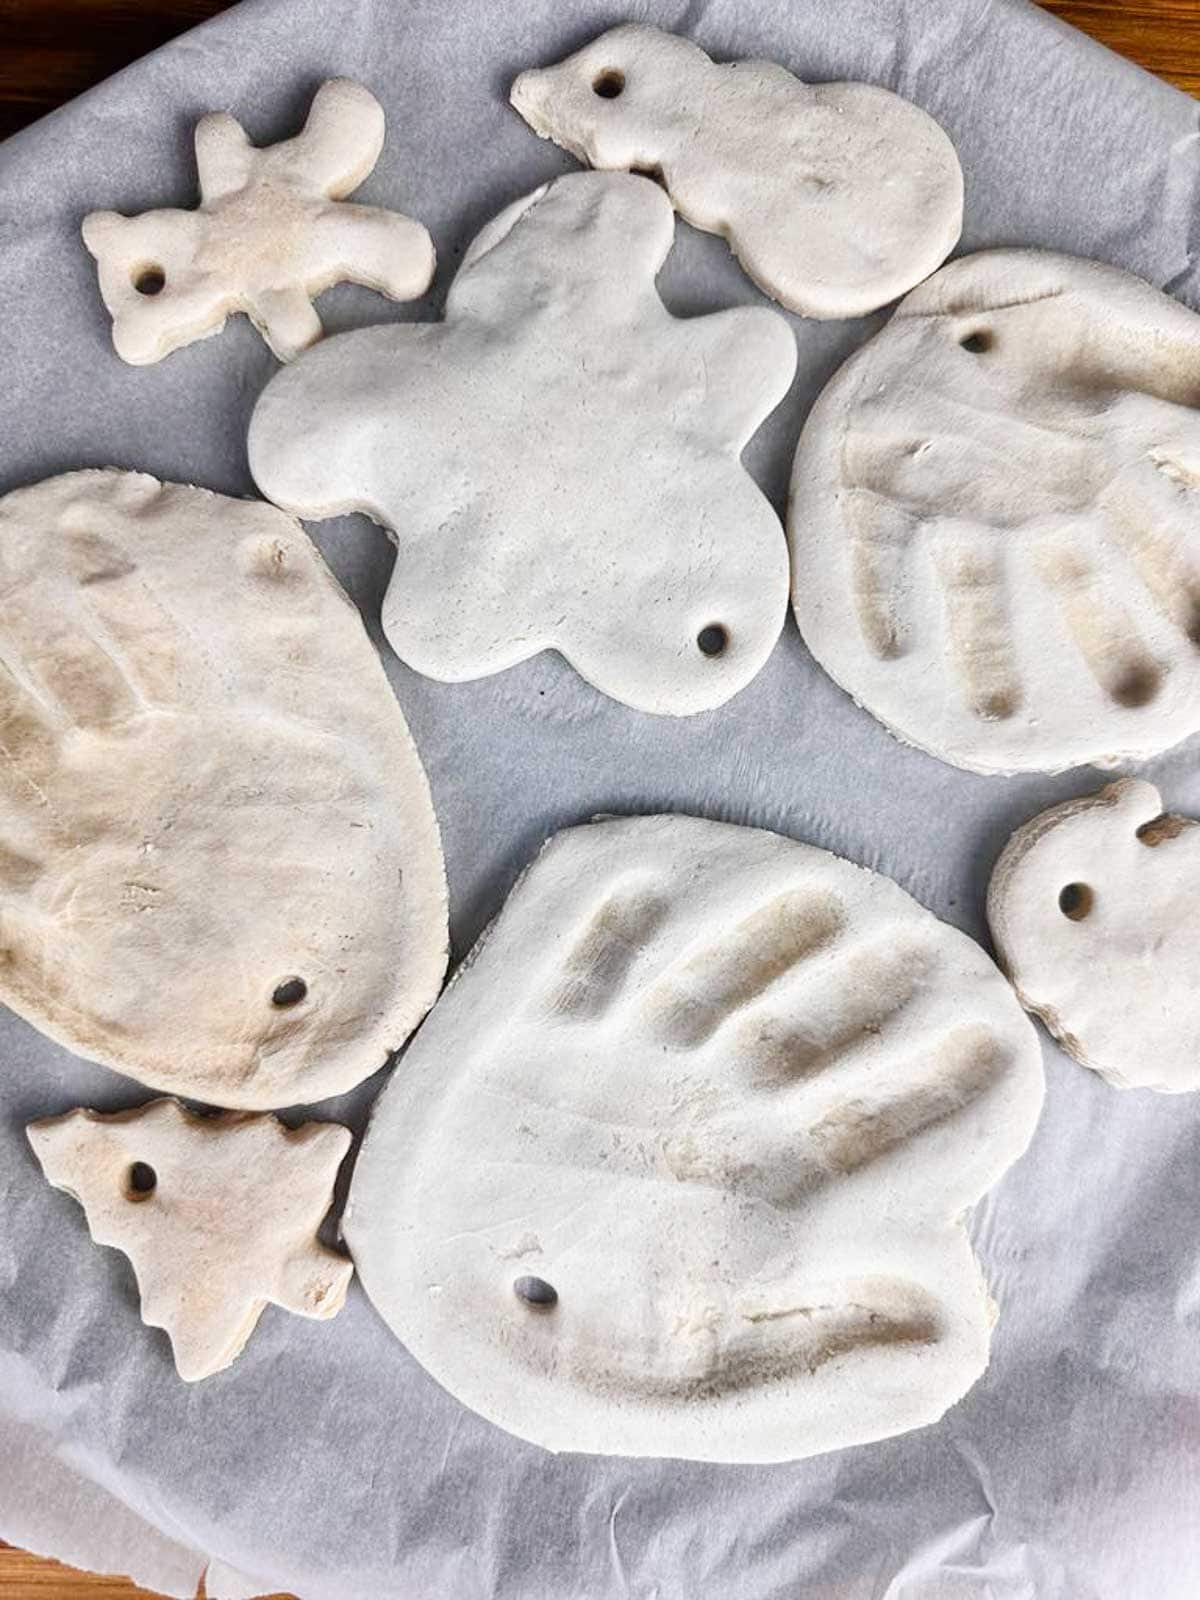
Remove the cookie sheet from the oven and allow the salt dough ornaments to cool.
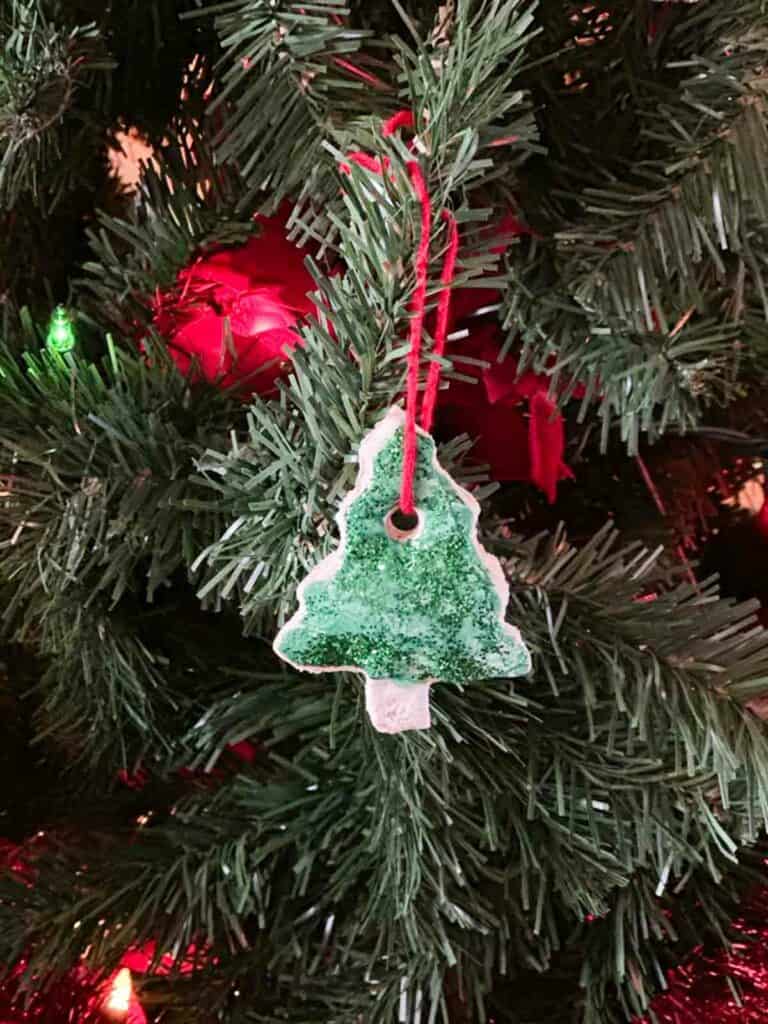
Once they have cooled, you can paint, apply glitter, or use other craft supplies to decorate the ornaments.
To help add longevity to the ornaments, you can spray a light coat of polyurethane onto them.
Finally, thread with a ribbon or twine and hang on your tree.
Making a Salt Dough Ornament Handprint
Whether you have little ones or just wnat to make your own hand print salt dough Christmas ornament for kicks, here’s what you need to do.
Follow all the steps for making the dough and flattening it out.
Once the dough is about 1/8 thick, flatten your child’s or your hand out and gently push it into the dough.
If your kids are like mine, they’ll love this part!
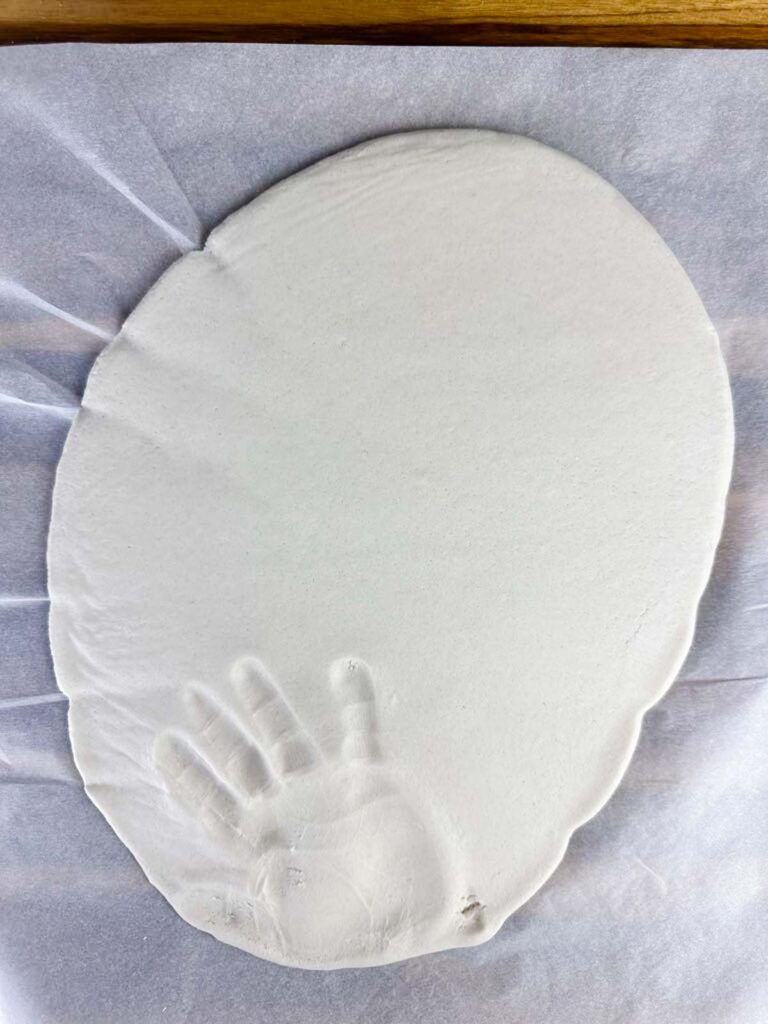
Don’t push too hard. You want an impression, not to Hulk smash the dough.
Pull the hand out of the dough. It should retain the shape of the hand.
You can now either cut it out with a knife or use a round cookie cutter or biscuit cutter if you have a big enough one to fully circle the handprint.
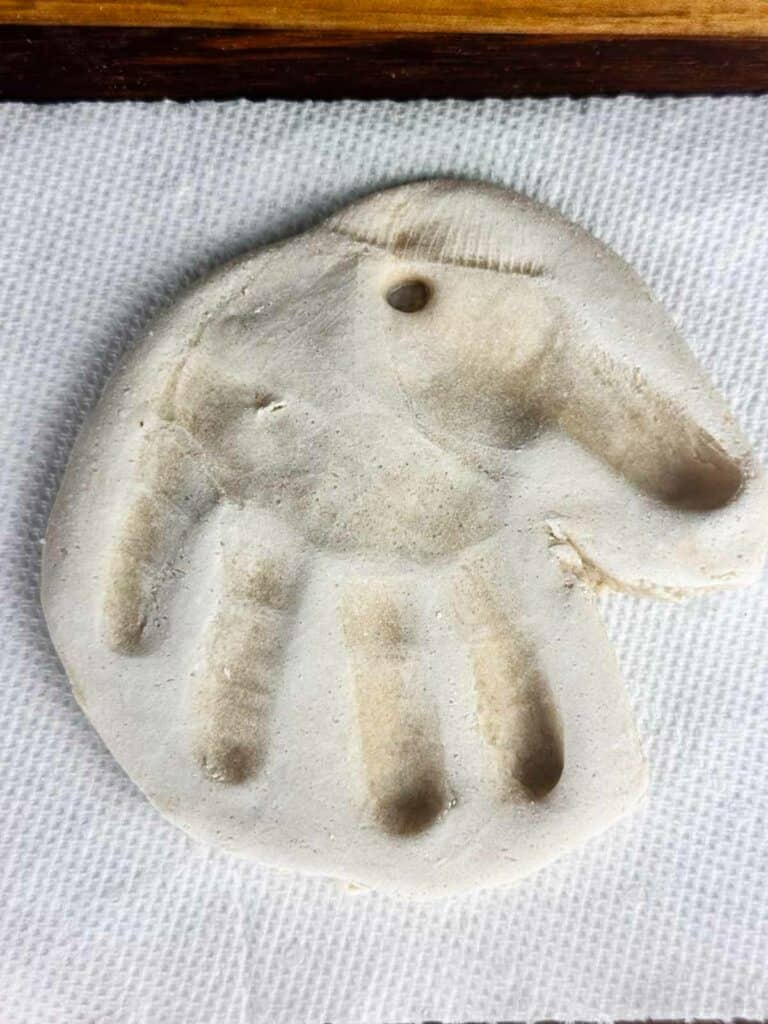
In either case, you want to make sure you have some border around the hand print so you can add a year to it later or decorate around the hand print if you like.
How to Decorate the Salt Dough Hand Print Ornaments
We turned one of our kiddo’s handprints into Santa Claus.
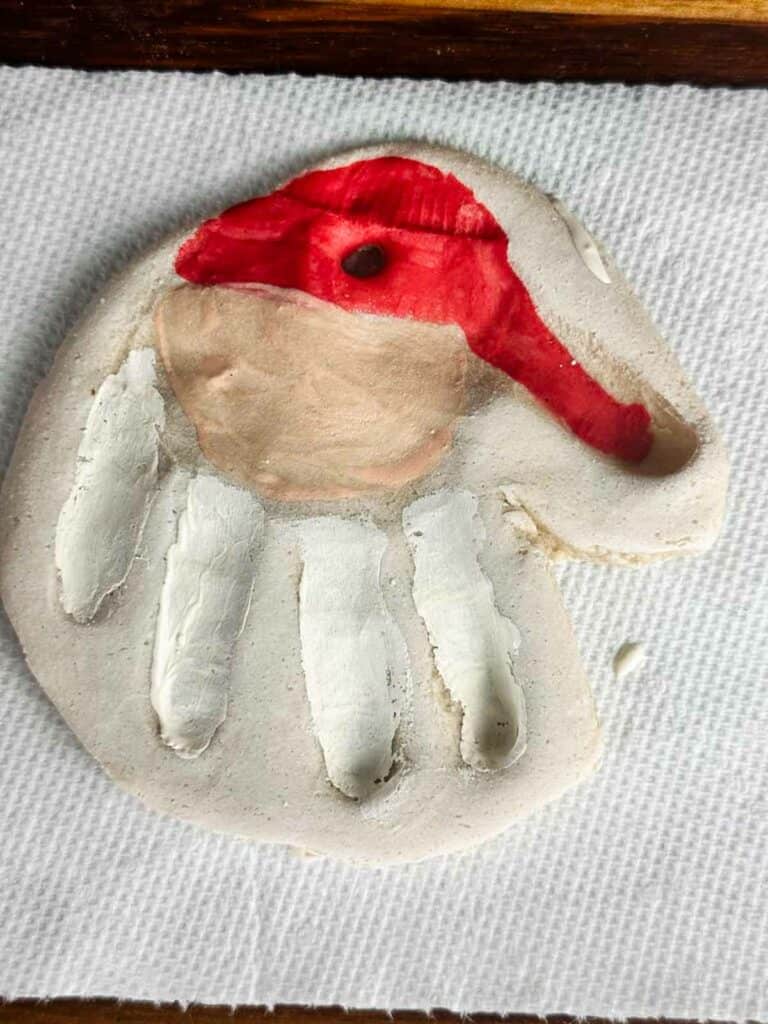
1. Start by letting the fingers be the beard and painting a Santa hat.
Turn the ornament so the thumb and bottom of the palm are on top.
Paint a hat shape on the bottom of the palm and into the first thumb with red paint.
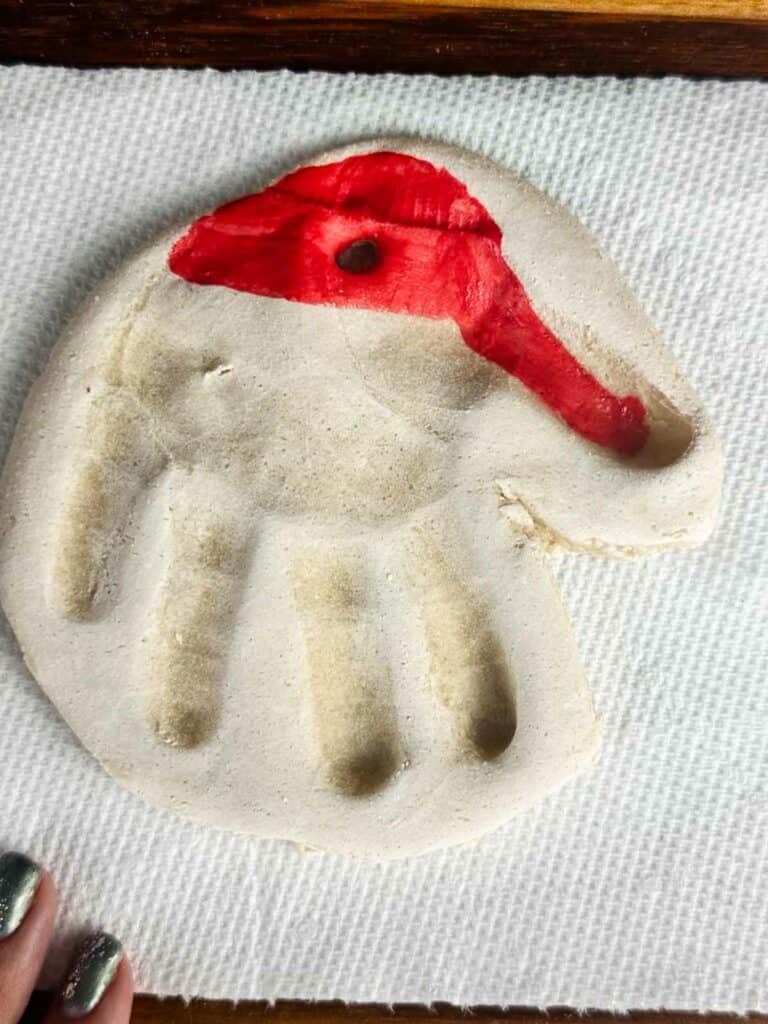
2. Paint on the face and beard.
Using a flesh colored paint of your choice, paint a circle under the Santa hat on the palm.
Paint the fingers white for the beard.
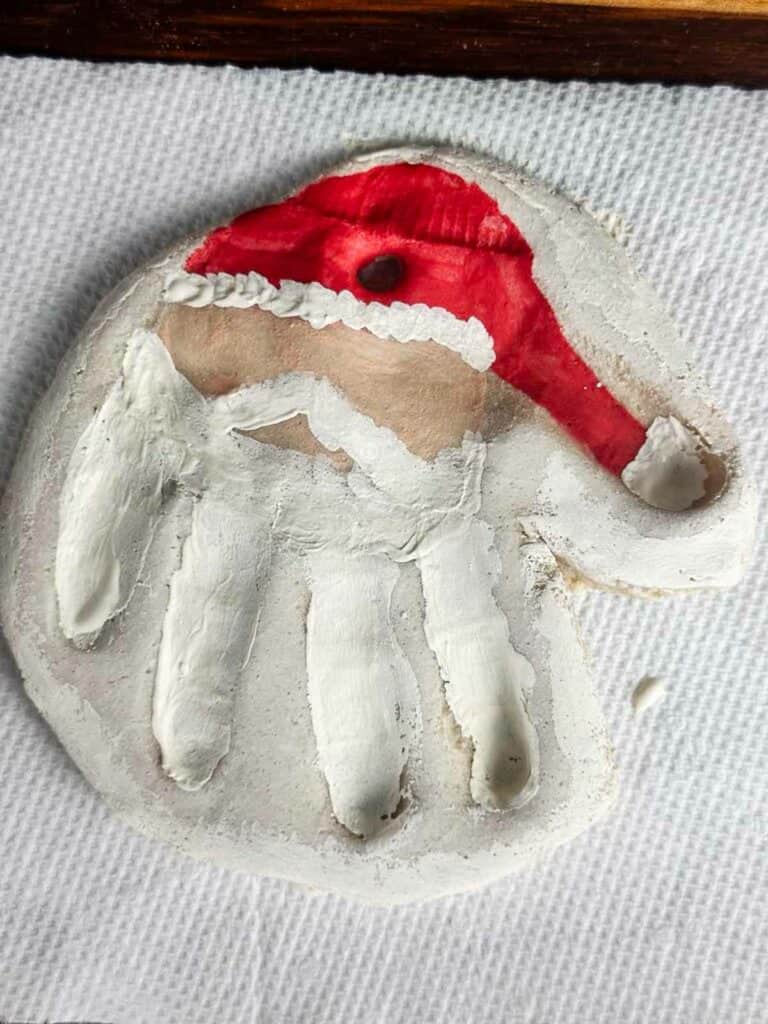
3. Add the white details.
Paint Santa’s mustache, the furry rim on his hat, and poof ball.
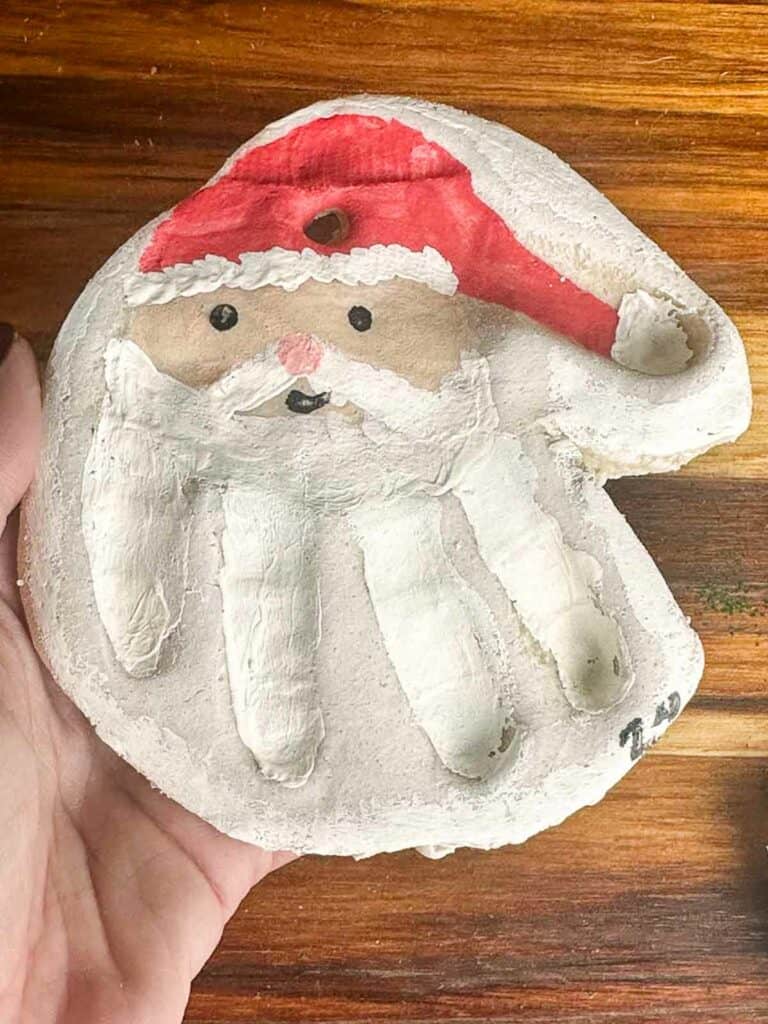
4. Finish Santa’s face.
Paint or use permanent marker to make 2 eyes, a nose, and a smile.
How to Make No Bake Salt Dough Ornaments
To make no bake salt dough ornaments, follow all the instructions up the point of placing the salt dough in the oven.
Instead, you may want to lightly cover the ornaments with a tea towel and then leave them on the tray in a cool, dry area of your house.
Depending on conditions, like how humid it is in your home, it can take 2 to 7 days for them to fully dry.
During their dry time, flip them once or twice a day to help them dry evenly.
How long do salt dough ornaments last?
For a really long time! Not only is salt an excellent preservative but if you seal them with polyurethane or a sealant like Modge Podge, they should last for decades to come.
Is it better to bake or air dry salt dough ornaments?
I like to bake them. It helps keep their shape and means you can get them on your tree or give them as gifts sooner rather than later!
Do you paint the ornaments before or after you bake them?
Please, please, please do NOT paint them before you bake them. Decorate them once you have baked the salt dough and let it cool down!
Can I decorate salt dough ornaments with markers?
Yes, but only very brave parents give their children permanent markers to use.
Tips and Tricks
- Salt dough may not always come together nicely. If it is too wet, adding a bit more flour to the dough can help. If it is too dry, you can add a little bit more water to help reach the right consistency.
- Spray finished salt dough ornaments with polyurethane to help preserve the ornaments for years to come.
- Paint and glitter are just the beginning of what you can decorate the ornaments with. Pom poms, small bells, more ribbon, felt, and just about anything you might normally craft with may work, so be creative.
Other Christmas Decoration Craft Projects

Looking for other Christmas projects to do to get in the spirit? Try these:
- Cinnamon Ornaments
- Dried Orange Slice Ornaments
- DIY Pinecone Gnome Ornaments
- Cinnamon Pinecones
- Easy Christmas Simmer Pot Recipe
Christmas Food Crafts
Looking to get the kids in the kitchen doing projects and make yummy treats? Try these fun kid friendly projects:
Did you make this? Let me know!
Did you make salt dough ornaments or any other recipe or craft on my site? Leave me a comment below and let me know how you liked it. And make sure you follow along with me on Facebook, Pinterest and Instagram to see everything we’ve got going on.

Salt Dough Ornaments
Equipment
- Cookie Sheets
Materials
- 1 package Christmas Shaped Cookie Cutters
- Parchment Paper
- 2 to 3 Cookie Sheets
- Twine or Ribbon
- 4 cups all-purpose flour
- 1 cup salt
- 1.5 cups warm water
- 1 set craft brushes
- 1 set craft paint
- 1 large bowl
- 1 sturdy spoon
Instructions
- Add the salt and all-purpose flour to a bowl and then pour the water into the bowl.
- Mix the ingredients with a sturdy spoon until a dough forms.
- Preheat the oven to 300 degrees F.
- Place a piece of parchment paper on a table or counter.
- Place half of the dough on top of the parchment paper and then cover with another piece of parchment paper.
- Use a rolling pin to flatten the dough into a roughly 1/8 of an inch thick sheet.
- Use cookie cutters to cut out shapes from the dough. Leave the cut out shapes on the parchment paper.
- Once you have made all the shapes you can, carefully peel the excess dough away and then place the parchment paper with the ornaments onto a cookie sheet. Alternatively, you can transfer each ornament to a waiting cookie sheet lined with parchment paper.
- Repeat the process until you have used all the dough to form ornaments.
- Use a straw, toothpick, or other small tool to create a small hole for the ribbon to hang the ornament about 1/2 inch from the top.
- Place the ornaments into the oven and bake for 1 hour or until dried and hardened.
- Remove the salt dough ornaments from the oven and allow them to cool to the touch.
- Use paint, glitter, and any other supplies to decorate the ornaments.
- When done, you can spray painted or glittered areas with poylurethane to help preserve the ornament.
- Finally, thread a short piece of twine or ribbon through the baked in hole and tie off to create a way to hang the ornament.


